简要介绍
如何开发你的desktop应用
- 一个简单的 demo
demo - 一个入口main.js(mainProcess)+ 一个index.html(renderProcess)
- 执行 electron main.js
企业云盘的整体结构
|
|
- 整体的结构就是按照两个进程来划分
- renderProcess中可以使用任何你想用的架构,企业云盘采用的是react+redux+router结构
- 企业云盘开发环境中采用localhost:3000的实时编译调试模式,发包时采用file协议
mainProces:
数据库采用nodejs库 nedb(mainProcess/database)
数据文件存储在应用数据下的.clouddiskdata,刚开始采用的是mongodb,后来打包发现太大,多40多M,还卡
|
|
注意nedb为了保证数据的持久性,每一次update或者delete操作实际上都是在最后一行添加一条数据,但是每次load database的时候,会自动合并所有的数据项,所以云盘里面可以看到每次update都调用了
db.loadDatabase();
官方解释如下:
Under the hood, NeDB’s persistence uses an append-only format, meaning that all updates and deletes actually result in lines added at the end of the datafile, for performance reasons. The database is automatically compacted (i.e. put back in the one-line-per-document format) every time you load each database within your application.
登录认证 (mainProcess/uuap)
浏览器向server发起请求,server端进行登录,并且在head中set-cookie
mainProcess通过该有效cookie发起后续所有请求
renderProcess中的请求通过ipc通信方式使用nodejs的request模块来进行通信
浏览器中直接调起客户端,urlScheme(mainProcess/urlProtocol)
1.浏览器端
|
|
2.mainProcess代码如下
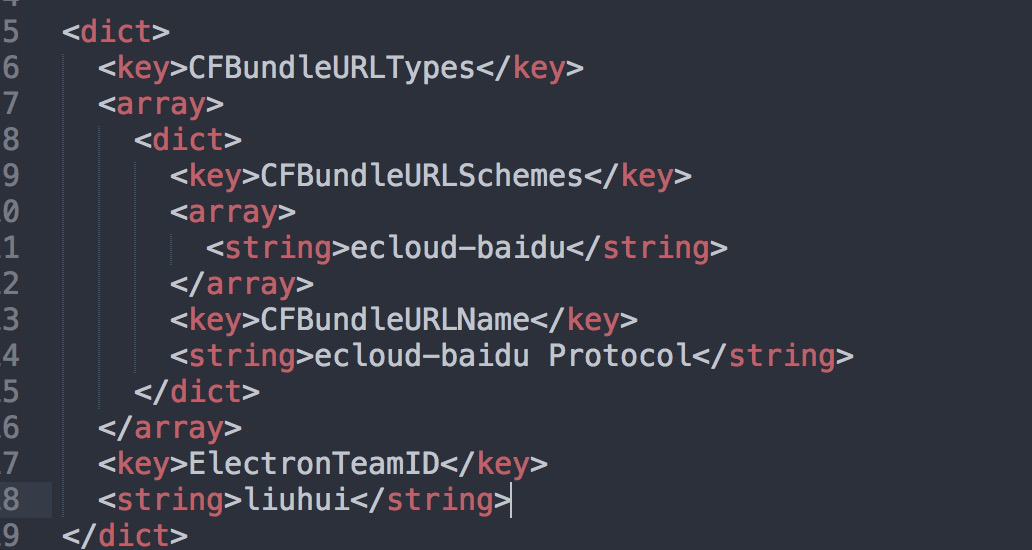
3.配置info.plist
4.打包过程中也需要配置下,否则mac中不生效
窗口管理器(mainProcess/windowManage)
1.企业云盘总共有三个window(主页、设置页、预览页、反馈页、二次确认页)
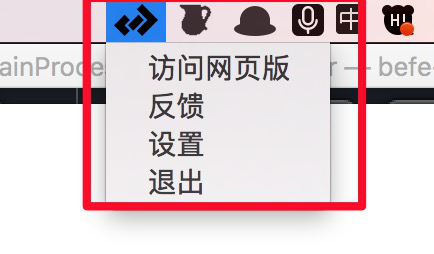
traymenu控制(mainProcess/trayMenu)
参考官方api写即可,大致代码如下:
|
|

传输控制(mainProcess/transfile 、 mainProcess/watcher)
本地文件增删改查检测(使用nodejs库chokidar,目前mac已迁移到Object-c的app中)
关于electron中与oc app的通信方式。目前采用的是shell里面的open命令,以及web server方式
mainProcess中创建webserver服务,oc中通过发起http请求进行通信
mainProcess和oc通信采用open方式
云盘接受oc的web服务
|
|
打开oc应用
|
|
md5计算,采用md5-file
|
|
分片:
|
|
系统通知:
mac采用 notification
window采用nodejs的node-notifier模块
自动更新客户端(mainProcess/checkUpdate)
官方提供了几个自动更新的项目,nuts/electron-release-server/squirrel-updates-server/squirrel-release-server,这几个项目中其中2个都是采用github来进行发布,不符合我国国情
企业云采用了electron-release-server这个项目来搭建自动升级服务
基于docker-compose
- 中间遇到的坑,这个项目基于docker-composer 的version2 版本,最低要求docker的版本为1.9.1以上,具体可参考 https://docs.docker.com/compose/compose-file/compose-file-v2/#args
- 最后采用了ubuntu的服务器,centos版本都太低
- 开源项目里面需要简单的配置下数据库、服务器、修改资源存储的路径为永久存储
- 公司的服务器的端口必须是8000以上,刚开始设置了个5555 怎么都不好使,能ping通,但是浏览器没法访问
- 包含了资源存储
- 强大的api支持
使用Squirrel来模块来完成自动升级
- mac使用.dmg和.zip
- window 使用.exe .nupkg
关于自动更新中必须要注意的几个点:
必须要有证书
- mac通过开发者账号生成,公司苹果开发者团队,可以通过权限申请加入,地址:http://appdev.baidu.com/
window证书
ecloud.pfx,带秘钥的证书,具体可以参考 如何生成pfx的证书
具体方案可以参考 Auto-updating apps for Windows and OSX using Electron: The complete guide
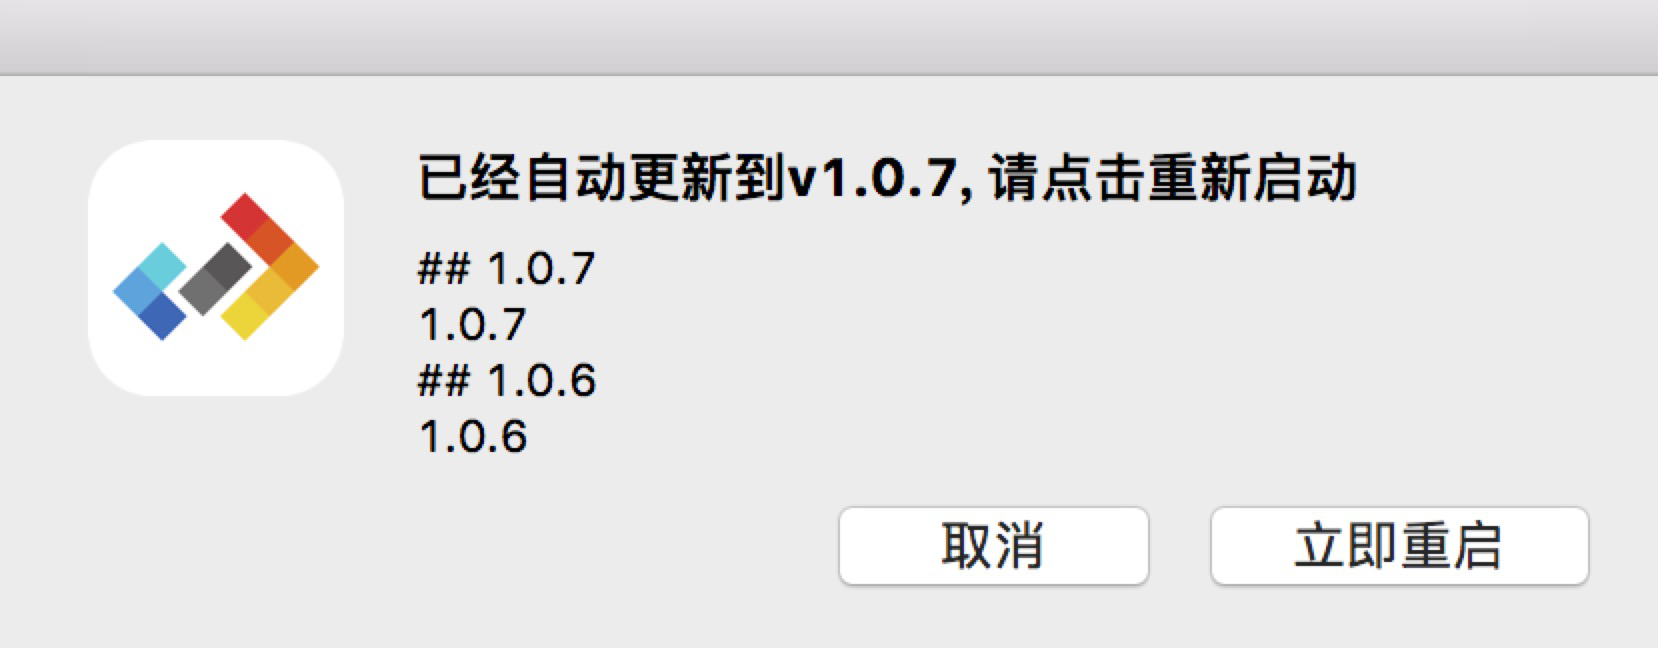
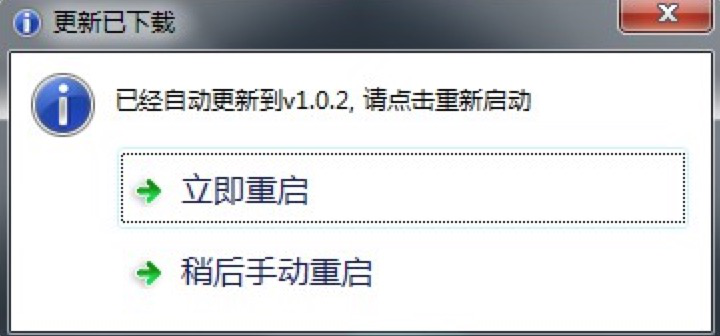
自动更新提示如下

- 遇到坑
mac中autoUpdater.quitAndInstall(); 没有自动重启应用
可以通过
/Users/liuhui/Library/Caches/com.electron.ecloud.ShipIt下的
ShipIt_stderr.log来查看问题所在
window中采用squirrel安装方式后很多问题,安装过程中应用就被打开,需要处理下squirrel事件,可以参考 https://github.com/electron/windows-installer
flash的支持
需要添加pepper flash插件,Pepper Flash Player 是由Google维护的专用于chromium引擎的flash播放器
首先是在自己电脑上找到pepper flash的插件(mac及window版本)
结果如下:
- 如果你有安装Chrome浏览器,可以在地址栏输入chrome://plugins/,点击右侧的详细信息,找到Adobe Flash Player条目,目前chrome已经废弃掉chrome://plugins/地址
- 实际mac地址:/Library/Internet Plug-Ins/PepperFlashPlayer/PepperFlashPlayer.plugin
window地址:C:\Windows\System32\Macromed\Flash\pepflashplayer64_24_0_0_194.dll(名称和版本号可能有出入) 重命名为pepflashplayer.dll即可。
中间遇到的坑:
- window上不好使,提示“无法加载插件”,确定为pepflashplayer64_24_0_0_194.dll的问题,去网上下载了一个
- chrome 53里面的flash有个闪烁的bug,浏览器bug,需要升级chrome版本
pepper flash引入12345678910111213let pluginName;switch (process.platform) {case 'win32':pluginName = 'pepflashplayer.dll'breakcase 'darwin':pluginName = 'PepperFlashPlayer.plugin'breakcase 'linux':pluginName = 'libpepflashplayer.so'break}app.commandLine.appendSwitch('ppapi-flash-path', path.join(__dirname+'/plugins/', pluginName))
网络检测(mainProcess/network)
网络监测刚开始采用的 https://developer.mozilla.org/en-US/docs/Online_and_offline_events
监测很准确,这种检测仅仅针对lan是否有连接,实际情况是很多时候网络是连着的,但是不能上网
后面换成nodejs的方案
renderProcess
|
|
两个进程
- electron合并了chromium和node.js
- 提供了一系列的api进行native开发,例如file dialogs,notifications,icons更多
中间的坑:
可以看到官方网站提供了mainProcess和renderProcess区分了接口,但是这两个api并不是完全独立的,renderProces提供的remote模块可以获取到mainProcess到所有的api,详细见接口 接口文档
企业云盘在mainProcess里面定义了整个app通用的全局变量:虽然renderProcess中可以访问到mainProcess里面的全局变量,但是renderProcess里面修改并不会影响到mainPorcess里面的变量
打包方式
打包方式,企业云盘用过2种
electron-package
123"build": "electron-packager ./ clouddisk --platform=darwin,win32 --arch=x64 --prune --overwrite --version=1.4.13 --ignore renderProcess/node_modules --icon ./icon","buildwin": "electron-packager ./ clouddisk --platform=win32 --arch=x64 --prune --overwrite --version=1.4.13 --ignore renderProcess/node_modules --icon ./icon","buildmac": "electron-packager ./ clouddisk --platform=darwin --arch=x64 --prune --overwrite --version=1.4.3 --ignore renderProcess/node_modules --icon ./icon",electron-builder
1234567"build": {"appId": "com.electron.ecloud","productName": "ecloud","mac": {"extendInfo": "build/info.plist"},// ...
这两种打包方式的区别:
electron-package 仅能打出应用程序,无法打出安装包,配置项没有electron-builder那么灵活
electron-builder 支持非常强大的配置,可以参考 官网
需要注意的是自动更新需要打出nupkg的包,electron-builder也是支持的

自动更新依赖于squirrel模块,这个模块决定了window的打包方式必须是squirrel的安装包,从而决定了不一样的window安装包(nsis或者squirrel)
squirrel安装包依赖于net 4.5
调试技巧
抓包
企业云盘里面所有的请求都基于node的request模块,所以给request设置下代理即可,如下123456789101112131415// 只能代理到httprequire('./mainProcess/request').defaults({ proxy: 'http://127.0.0.1:8888' })// https如下let useProxy=1;if(useProxy){process.env.https_proxy = "http://127.0.0.1:8888";process.env.http_proxy = "http://127.0.0.1:8888";process.env.NODE_TLS_REJECT_UNAUTHORIZED = "0";}```- 调试renderProcess 打开browser window的控制台``` js/localhost/.test(appUrl) && win.webContents.openDevTools();调试mainProcess
console.log直接会在terminal中打出,另外全局有写一个小工具debugInRender,这个工具会将mainProcess的调试信息打印在renderProcess的控制台中调试用户的电脑
企业云盘-显示包内容-contents-resources-app里面,修改代码重启可生效,
当然云盘在打包的时候可以压缩所有代码为asar格式的,只需要在package的配置中添加
|
|
mac中crash情况debugger
https://electron.atom.io/docs/development/debugging-instructions-macos/
官方给出的调试方案
https://github.com/electron/electron/blob/master/docs/tutorial/debugging-main-process.md
使用visual studio code进行调试
详细参考 https://www.youtube.com/watch?v=nuZIeJ0ljgo
具体的launch.json配置如下
|
|
相关资源
https://electron.atom.io/docs/
https://github.com/electron-userland/electron-builder
https://github.com/electron/windows-installer
https://github.com/ArekSredzki/electron-release-server
https://github.com/electron/electron/blob/master/docs/development/atom-shell-vs-node-webkit.md
https://medium.com/developers-writing/building-a-desktop-application-with-electron-204203eeb658
